Remove object from image: A Practical AI Workflow for Freelance Designers
Skip Photoshop—use an online AI object remover to clean up product, travel, and lifestyle shots in minutes with smart masking and one-click export.
 Emily CremerDecember 4, 2025
Remove Object from Image: A Practical AI Workflow for Freelance Designers
Deadlines don’t wait for perfect shots. As a freelance designer, you often inherit images that are “almost there” — a product photo with a rogue price tag, a travel shot with a photobomber, a lifestyle scene with a distracting trash can. You could open Photoshop, draw a careful selection, clone, heal, patch, and iterate. Or you could meet the brief faster with a browser-based workflow that makes object removal a three-step task.
In 2025, browser inpainting quality rivals desktop tools for most use cases. For quick turnarounds, an online editor that lets you remove object from image can be the difference between “I’ll get it done this afternoon” and “I’ll need another day.”
This guide shows how to clean up product, travel, and lifestyle photos using AI: what to select, how to refine masks, how to check edges and shadows, and how to export files that are client-ready. You’ll see where Pixflux.AI fits, when to stick with Photoshop, and how to batch-edit product sets without friction.
(See image suggestion: a three-step Pixflux.AI interface screenshot showing Upload, AI processing, and Download.)
Why removing objects matters for freelance projects
- Product: Marketplaces like Amazon, Etsy, and Walmart value clean backgrounds and distraction-free hero images. Removing props, price stickers, cables, or scuffs improves conversion and keeps listings consistent.
- Travel: Influencer and brand content performs better when the subject is clear. Removing passersby, signs, or litter focuses the story on the destination or talent.
- Lifestyle: For ads and landing pages, harmony matters. Eliminating background clutter, overlapping objects, or brand conflicts keeps attention where the copy leads.
Polished visuals also reduce revision loops. The faster you deliver clarity, the sooner you can ship.
Key concepts in AI object removal
- Masks: A mask defines the area you want to remove or keep. Clean masks prevent halos and artifacts.
- Inpainting: The AI predicts what should appear behind the removed object, filling based on surrounding textures and lighting.
- Selection tools: Brush selection “paints” the area; lasso selection traces edges. Use the tool that best matches shapes and time pressure.
- Fill quality: Look for coherent textures, continuous lines, believable shadows, and lighting continuity. Quality checks separate an AI quick fix from a pro result.
Choosing your tool: Online AI editors vs Photoshop vs mobile apps
- Online AI editors: Great for speed, low learning curve, and immediate results on any machine. Ideal for common issues like removing people in the background, small props, or signs. Many offer batch handling when you need to clean multiple product angles.
- Photoshop: Powerful and granular. Best for complex composites, intricate patterns (e.g., plaid, grids), or when you need layered control across a multi-asset campaign.
- Mobile apps: Convenient for on-the-go fixes. Fine for social content, but less reliable for client-grade, large-format exports.
A hybrid stack works well: use an online AI editor for rapid cleanups and batches, then escalate to Photoshop for high-complexity scenes.
How to remove object from image with an online AI editor
You can apply this workflow to almost any editor that offers inpainting. The goal is to minimize time while keeping quality high.
- Identify the distraction
- Define what must go: person, bin, pole, sticker, cable, or logo. Clarify with your client if you’re unsure.
- Choose brush or lasso
- Brush for soft or irregular shapes; lasso for edges that are relatively straight or clearly bounded.
- Aim for a slightly generous selection
- Include a small margin around the object to capture edge pixels and prevent halos.
- Run the fill and preview at 100%
- Check textures, lines, perspective, and color consistency at actual size.
- Refine
- If needed, re-mask with a tighter or broader selection, or run a second small pass on stubborn edges.
- Quality checks
- Look at edges, repeating patterns, shadows, and lighting direction. More on this below.
- Export per deliverable
- Name files clearly, match the requested dimensions, and choose the right format (PNG, JPG, WEBP).
If you prefer a guided, browser-based flow, try a streamlined AI object removal workflow where upload, selection, and download are the only steps you’ll need.
(See image suggestion: close-up sequence of brush and lasso selection around an unwanted person in a travel photo with refined edges.)
Hands-on with Pixflux.AI: Upload > AI Process > Download
Pixflux.AI is a fast, online option that keeps the workflow simple and consistent across projects. Here’s the three-step process most freelancers follow:
- Upload your original image
- Drag and drop the file into Pixflux.AI. Larger images are fine; you’ll preview changes live.
- Let the AI process your selection
- Use brush or lasso to mark the unwanted object. Pixflux.AI inpaints the area using surrounding context, preserving textures and lighting.
- Download your cleaned image
- Review at full size, make a quick refinement pass if needed, then export the file in your preferred format.
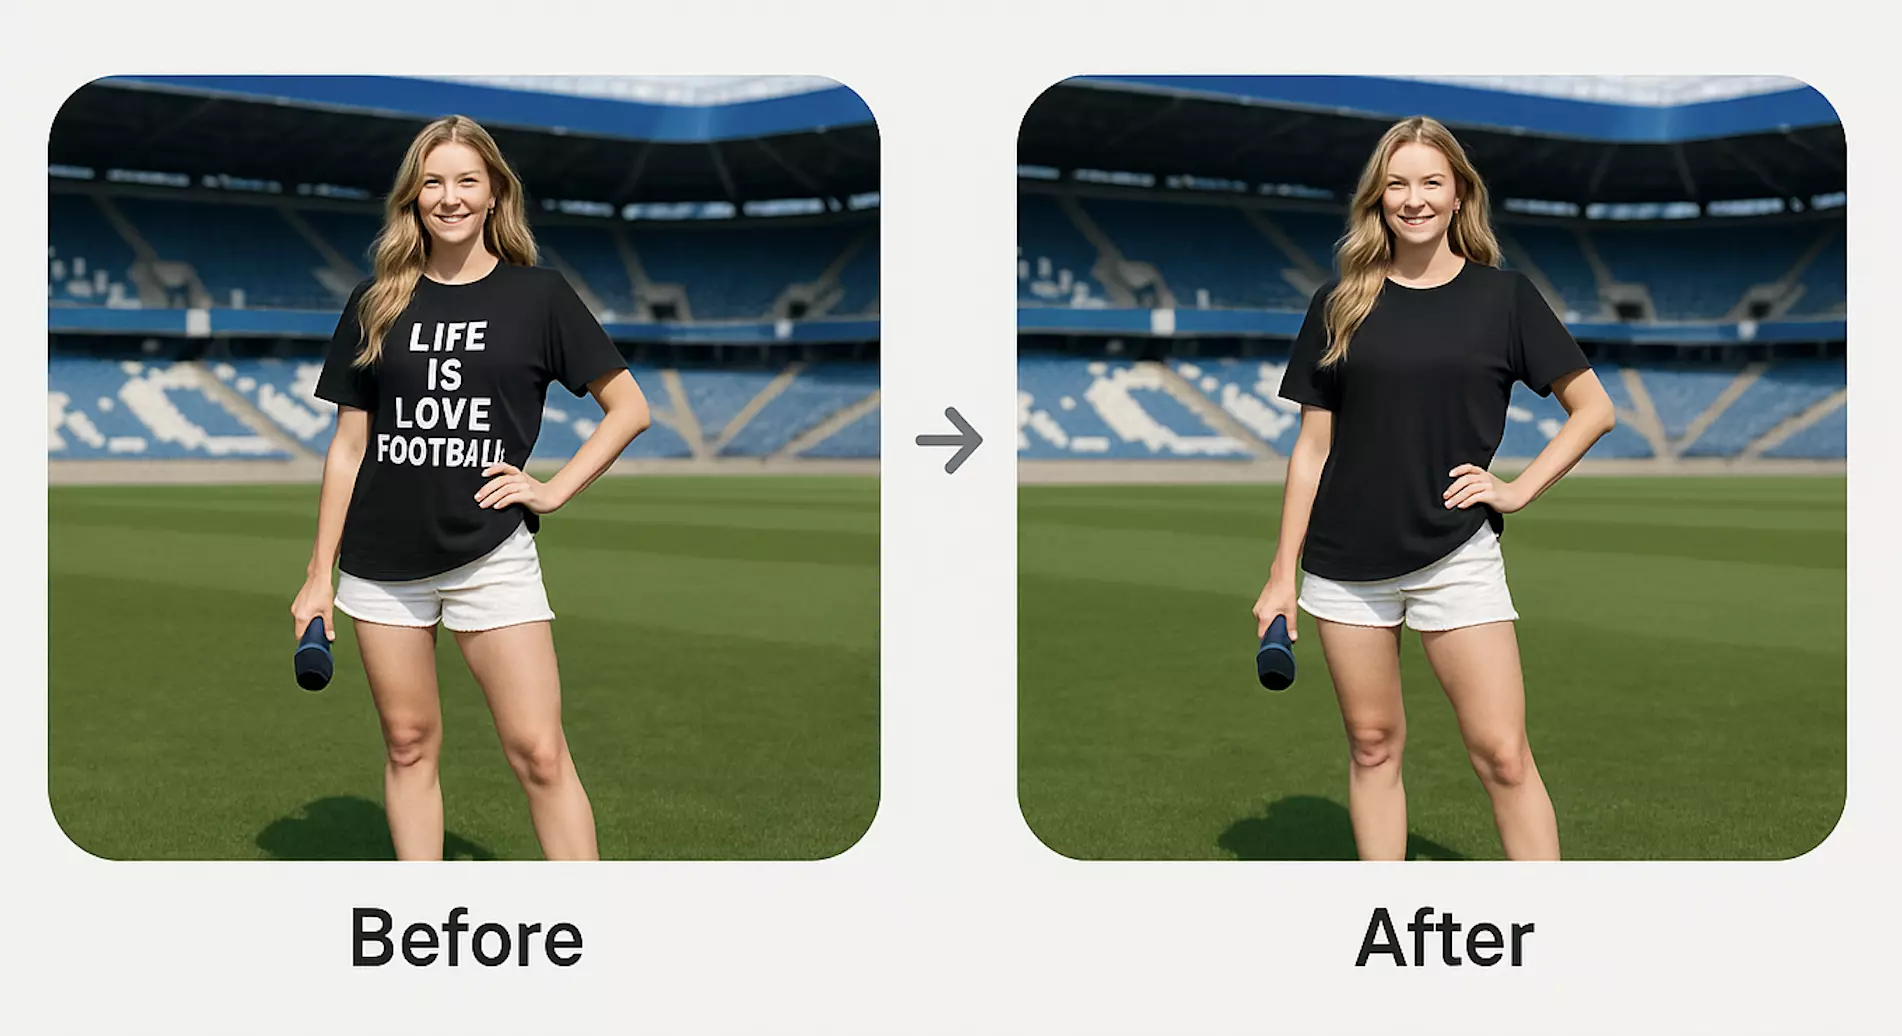
(See image suggestion: before-and-after comparison removing a trash can from a product photo using Pixflux.AI object remover.)
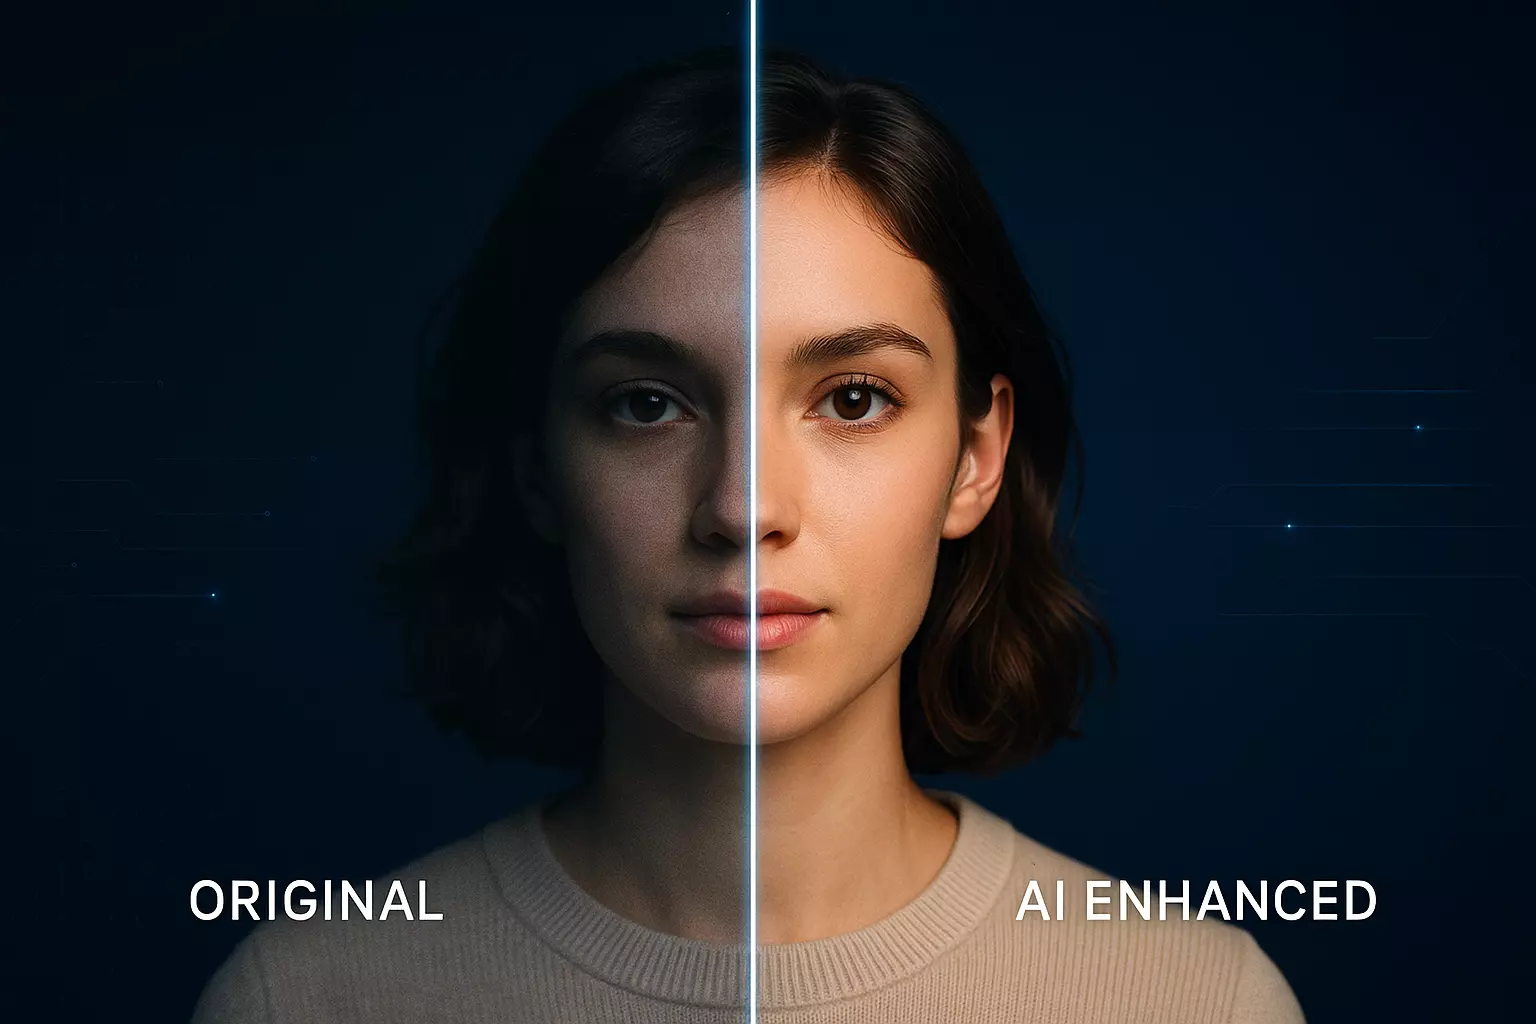
Tip: Beyond object removal, Pixflux.AI can also enhance clarity and contrast if a product still feels a touch soft after cleanup. Use this sparingly to keep a natural look.
Brush vs lasso: How to select smarter
- When to use brush
- Organic shapes: hair fringes, fabric folds, cables, foliage.
- Soft edges: shadows, reflections, and smoke.
- Technique: Choose a medium brush with feathered edges; paint slightly beyond the object’s boundary to blend transitions.
- When to use lasso
- Geometric items: signs, boxes, poles, frames.
- Defined edges: shelves, cases, and straight objects aligned with perspective.
- Technique: Trace outside the object by a few pixels. For straight edges, click to set corner points and follow perspective lines.
- Refining the mask
- After a first pass, zoom in to 100% and clean the selection around corners, semi-transparent zones (glass), or overlapping elements (e.g., product labels under shrink wrap).
- If you see ghosting or pattern breaks, widen the selection slightly so the AI has more context for inpainting.
Quality checks that save revisions
- Edges: No halos or blurred seams around the removed area.
- Textures: Wood grain, brick, fabric weave, and tile grout should continue without abrupt breaks.
- Lines and perspective: Shelf edges, floorboards, and horizon lines should stay straight and aligned.
- Shadows: Cast shadows should not suddenly stop; either extend them or ensure they’re logically removed.
- Lighting continuity: The fill should match color temperature and brightness of the surrounding scene.
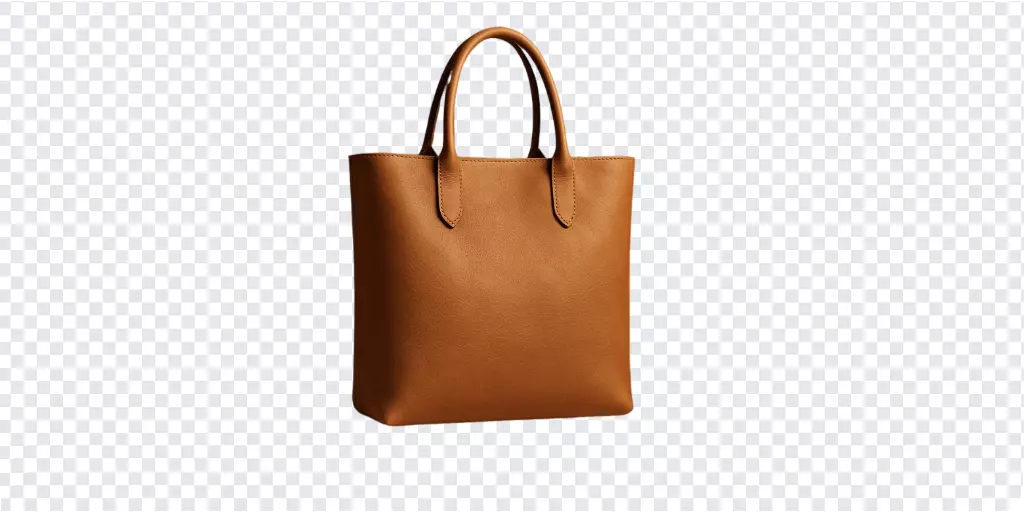
For product images, add a final check against marketplace rules (e.g., pure white background if required). If a scene needs a cleaner backdrop, Pixflux.AI can also remove or modify the background to align with brand guidelines.
Export and delivery: Formats, sizing, and naming
- Formats
- JPG: Best for lifestyle and travel photos where file size matters.
- PNG: For graphics with transparency or when stacking images in designs.
- WEBP: Modern web delivery with strong compression; verify client compatibility.
- Sizing
- Export at required pixel dimensions to avoid CMS auto-scaling. For e-commerce, keep consistent long-edge sizes across a product set.
- Naming
- Use a clear convention: client-project-scene-variation.ext (e.g., acme-bag-hero-01.jpg). This simplifies approvals and version control.
Batch-remove objects in product photos using Pixflux.AI
When you’re cleaning multiple angles of the same SKU, batch handling saves hours.
Suggested 5-step workflow:
- Open Pixflux.AI
- Upload your image set for that product
- Choose the object removal tool and apply the same selection logic across images
- Preview each result, make small mask tweaks for angle-specific differences
- Download the processed set and rename consistently
If your set also needs background standardization or watermark cleanup, you can run those steps in the same session before final export. As always, only remove watermarks or logos when you own the rights or have explicit permission.
Online AI tools vs traditional methods
Time cost
- Online AI: A single pass often takes seconds. Batch edits are straightforward and repeatable.
- Photoshop: Speed depends on your skill with the Clone/Heal/Patch toolset and the image complexity.
Learning curve
- Online AI: Minimal. You’ll mainly improve your selection technique and quality checks.
- Photoshop: Powerful but deep. Great for advanced compositing and nuanced retouching.
Batch efficiency
- Online AI: Simple to run multiple images with similar edits, especially across standardized product angles.
- Photoshop: Possible with actions, but setup and maintenance take time.
Cross-team adaptability
- Online AI: Easy to share a link and quick tips with clients or collaborators, regardless of their design background.
- Photoshop: Best when everyone uses the same version and knows the workflow.
In practice, many freelancers start in Pixflux.AI for routine cleanups and escalate to Photoshop for complex, layered retouching.
Troubleshooting and ethics
- Complex patterns (plaid, tiles, grids): If you see repetition artifacts, widen your selection or try a second pass. For perfect alignment on intricate patterns, consider a Photoshop touch-up.
- People and glass: Hair edges and transparent reflections need careful brush work. Refine the mask, then run a smaller follow-up pass on the tricky area.
- Logos and watermarks: Do not remove copyrighted marks from images you do not own or control. Only process content you have rights to edit and comply with client platform policies.
- Disclosure: In editorial and advertising contexts, follow your client’s guidelines and local regulations on when to disclose retouching.
Quick reference: What freelancers gain by using Pixflux.AI
- Fast object removal for product, travel, and lifestyle shots
- Consistent, client-ready exports without steep learning curves
- Optional background cleanup and image enhancement
- Batch-friendly flow for multi-angle product sets
If you’re onboarding a new assistant or handing work off to a client team, pointing them to a simple AI object removal workflow keeps everyone aligned.
Practical examples
- Product cleanup: Remove a trash can or display hook from a retail shot, then standardize the background to your product template.
- Travel edits: Remove a passerby from a cityscape while maintaining brick and street textures.
- Lifestyle fixes: Eliminate stray cables or brand conflicts from a home office scene, keeping natural shadows intact.
(See image suggestion: before-and-after comparison removing a trash can from a product photo using Pixflux.AI object remover.)
Summary: A faster way to clean visuals
Browser-based inpainting has matured. Brands increasingly standardize their product imagery with AI-assisted object removal, and freelancers benefit from faster turnarounds without sacrificing quality. With Pixflux.AI, you can upload, select, and download in minutes — then apply the same approach across an entire set.
Ready to streamline your next cleanup? Try Pixflux.AI’s tool to remove unwanted objects in photos and deliver polished assets faster.