Remove Unwanted People from Travel Photos Keep the Place Authentic, Not Empty
Yes, you can ditch photobombers without nuking a scene’s character—learn clean removals, truthful shadows, and texture-safe edits for authentic travel shots.
 Emily CremerMarch 5, 2026
Remove Unwanted People from Travel Photos: Keep the Place Authentic, Not Empty
You finally nailed that golden-hour frame—only to find a passerby stepping into the edge, a tour group reflected in the café window, or a neon vest photobombing the perfect alleyway. Editing tools can erase them, sure, but the result often looks sterile or “too perfect,” stripping the scene of the texture that made you stop and shoot in the first place.
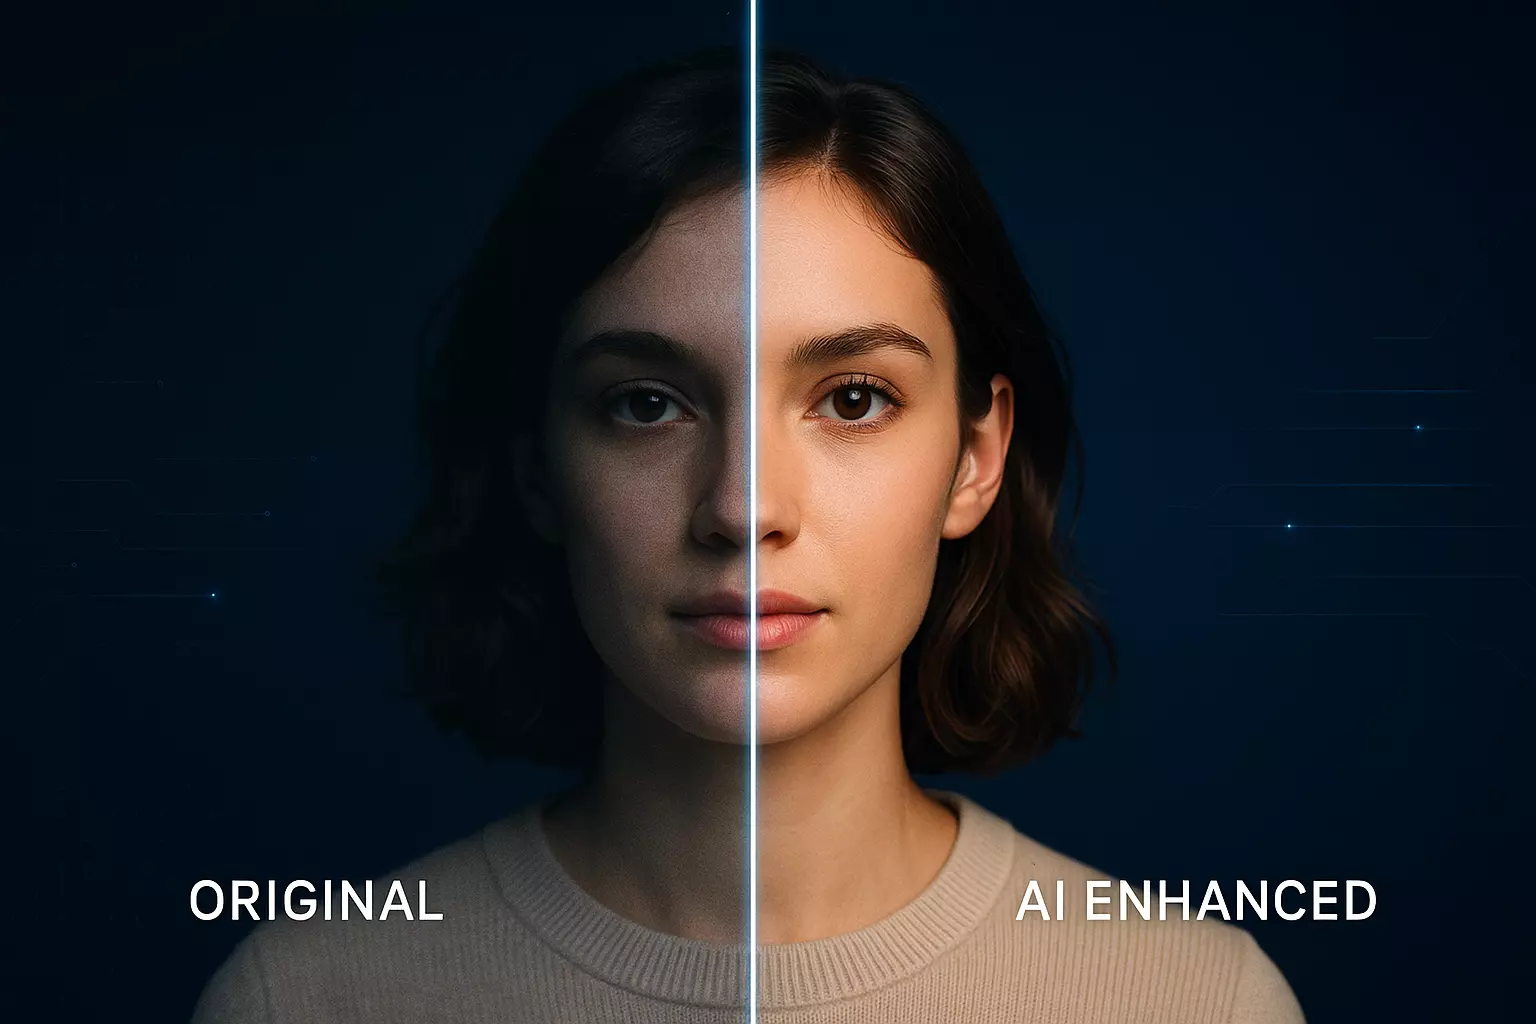
In 2026, audiences expect travel photos to feel real: the right kind of clean, not eerily empty. The goal isn’t to sanitize; it’s to remove just enough distraction to help the story read clearly. This is exactly where lightweight AI editing shines. If you want a fast, ethical way to remove strangers from travel photos while preserving the character of the location, modern object-removal tools can help you get there—without a steep learning curve.
(Reference image suggestion: Before‑and‑after pair of a city-square travel photo where a passing stranger is removed while cobblestone shadows and reflections remain consistent.)
Why removing strangers can still feel authentic
Authenticity isn’t about showing everything that was there; it’s about communicating what mattered. When a random passerby competes with your subject—a landmark texture, a small ritual in a market stall, the geometry of afternoon shadows—careful removal clarifies your intent. It restores focus, letting the place breathe.
The line to watch: Don’t rewrite the scene. Keep environmental traces like lived-in patina, natural clutter, and contextual signs. Remove the accidental, not the essential.
Object removal vs. blur and crop: what to use when
- Object removal (AI inpainting) is best when a stranger or small object intrudes into a valuable area—like a shoulder at frame edge, or a bright shirt on a neutral wall. It reconstructs missing pixels from context.
- Background blur shifts emphasis using depth simulation. It’s useful for portraits in busy markets but can look artificial if foreground edges or glass reflections are mishandled.
- Cropping reframes without pixel invention. Use it to simplify, but avoid cropping away key place identifiers (street signs in local script, unique tiles, weathered doors).
Most travel edits blend these: remove the true distraction, then micro-crop for balance.
Choose the right base frame for clean removals
Start strong so you don’t fight the edit later.
- Pick frames with ample “clean” surroundings around the subject—brick repeats, sky, water, or uninterrupted textures that are easy for AI to rebuild.
- Avoid heavy motion overlap: if a stranger’s shadow crosses key details (e.g., fresco edges), pick an earlier/later burst frame where the overlap is smaller.
- For reflective scenes (windows, puddles), choose the frame where reflections are simplest or symmetrical; inpainting complex reflections is harder but doable with care.
(Reference image suggestion: Tight crop comparison showing landmark texture rebuild on a stone wall after person removal, with seamless repeating patterns.)
A non-destructive mindset: versions and safety nets
Even when you use quick AI tools, keep a non-destructive workflow:
- Duplicate your RAW or high-res original before edits.
- Export variants (“v1 remove left passerby,” “v2 keep reflection”) so you can compare storytelling impact later.
- If your main editor supports layers, keep separate repair passes per region (e.g., ground, wall, glass) so you can roll back just one area.
Non-destructive thinking protects you from over-editing and helps maintain a consistent visual style across a series.
How to remove unwanted person from photo while preserving place identity
- Define the “identity anchors” first: textures (cobblestones, mosaics), typography (storefront signs), distinctive wear (chipped paint), and light behavior (direction, softness).
- Remove only what competes with those anchors. If an object adds believable “life” (a distant silhouette, soft crowd blur), consider keeping it.
- Use small, progressive removals rather than one big sweep; evaluate after each pass for texture seams or pattern warping.
Shadows, reflections, and lighting continuity
Nothing breaks realism faster than mismatched light. After removal:
- Check shadows: if you erased a person casting a shadow, ensure the remaining shadows read as continuous and logical. Blend or rebuild where a hard edge suddenly disappears.
- Watch reflections: glass, metal, and water demand attention. If a removed person was partially reflected, repair both the foreground surface and its mirror counterpart.
- Match grain/noise: if your camera added fine grain in low light, maintain that texture in the repaired area to avoid a “plastic” patch.
Protect landmark textures and repeating patterns
AI can reconstruct repeating elements well if you give it context.
- Extend selections to include the full rhythm of a pattern (e.g., grout lines across tiles), not just the immediate boundary.
- Follow perspective lines: rebuilds should taper with distance and align with vanishing points.
- Scrutinize edges where textures change (stone-to-wood thresholds). Micro-adjust or re-run the fill if alignment drifts.
Hands‑on: remove a photobomber with Pixflux.AI in 3 steps
For quick, clean results without deep software skills, Pixflux.AI makes object removal straightforward. Here’s the fast lane:
- Upload your photo. Go to the Pixflux.AI object remover and upload the image you want to remove unwanted person from photo. Aim for the highest resolution you have for better reconstruction.
- Let the AI process the object removal. Use the brush to highlight the unwanted person or distraction. Pixflux.AI analyzes surrounding context—textures, edges, lighting—to fill the area convincingly. Preview the result and, if needed, refine your selection for tricky edges like hair or semi-transparent clothing.
- Download the edited image. Save the result and compare it with your original. If something feels too perfect, consider restoring minor traces (soft crowd blur in the distance) for an authentic, lived-in atmosphere.
(Pro tip: When a stranger overlaps complex elements—like latticework or mosaic tiles—remove them in two passes: first the bulk of the figure, then a second, precise pass to perfect any repeating patterns.)
(Reference image suggestion: Pixflux.AI interface sequence showing upload → AI processing → download for removing a photobomber.)
Batch clean multiple travel shots with consistent style
Series cohesion matters on Instagram carousels, travel blogs, or editorial spreads. With Pixflux.AI, you can upload and process multiple images in one sitting to keep a consistent look across a set—removing recurring distractions like tour groups or signage clutter while protecting your signature tone and composition.
Tips for batch consistency:
- Establish a “style guardrail”: decide what stays (ambient silhouettes, signage, light haze) and what always goes (bright vests, obstructive heads).
- Keep exposure and color grading consistent before or after removal to avoid mismatched patches.
- Review as a grid; tiny inconsistencies pop more clearly when you see images side by side.
AI online tools vs. traditional methods
- Time cost: AI object removers like Pixflux.AI typically deliver convincing fills in seconds. Hand-cloning every tile or brick in traditional software can take 20–40 minutes per frame.
- Learning curve: With online tools, you draw, preview, and iterate—no need to master advanced masks, patch tools, or frequency separation before you start getting results.
- Batch efficiency: Handling multiple photos in one flow is practical with AI tools; manual retouching scales poorly as set size grows.
- Cross-team adaptability: Creators, editors, and social managers can all review quick passes and agree on what to remove—without passing around heavyweight project files.
Traditional software and pro retouchers still excel at edge cases—like dense crowds across complex reflections—but AI gets you 90% there, fast. Use both when the project calls for it.
Ethics, permissions, and disclosure
Edit respectfully:
- Only remove elements that don’t change the meaning of a place or mislead viewers about access, safety, or cultural norms.
- When removing logos, watermarks, or proprietary marks, ensure you own the rights or have permission. Do not use watermark removal to infringe on copyrights or bypass platform rules.
- Be transparent in editorial contexts. If an edit could influence interpretation (e.g., removing protest signs or safety barriers), disclose the change.
Troubleshooting and a quality checklist before you publish
Quick fixes for common artifacts:
- Repeating smudges in patterns: Re-run the object removal with a slightly wider selection so the AI sees more context. Align with perspective lines.
- Plastic-looking patches: Add subtle grain or texture to match the camera’s noise profile, or make a second, refined removal pass.
- Warped edges near borders: Crop a few pixels in or re-run with an expanded selection beyond the edge to avoid border distortions.
- Shadow glitches: If a shadow abruptly stops where a person was removed, gently rebuild the shadow’s fade using a soft brush at low opacity, following the scene’s light direction.
Pre-publish checklist:
- Does the light make sense across the frame (direction, intensity, color)?
- Are repeating patterns continuous and aligned?
- Did you keep enough “life” in the scene—distant silhouettes, surface wear, ambient reflections?
- Does the image still feel like the place you visited?
FAQ: remove unwanted person from photo and related editing questions
Will removing people make my travel photo look fake?
It won’t if you remove only true distractions and preserve environmental character. Keep textures, minor imperfections, and believable traces of life; fix obvious intrusions. If the result looks sterile, reintroduce subtle elements (distant silhouettes, soft motion blur) to maintain realism.
What’s the fastest way to remove unwanted person from photo on the go?
Use an AI object remover like Pixflux.AI for a quick, guided workflow. Upload, highlight the distraction, and let the AI rebuild surrounding detail. This bypasses complex manual tools and keeps you focused on storytelling instead of technical steps.
How do I keep shadows and reflections natural after removal?
Match light logic and repair in both the object’s area and its mirror counterpart. If you delete a person who cast a shadow or appeared in a window, ensure continuity by rebuilding soft gradients and checking angles against the scene’s light direction. Small, iterative fixes beat one heavy pass.
Can I remove logos or watermarks from my images?
Only if you own the rights or have explicit permission to do so. Removal tools are powerful, but they must be used responsibly. Avoid erasing copyrighted marks or platform-required labels; use the feature to clean your own branding, drafts, or licensed assets where permitted.
Is batch processing possible for a whole travel series?
Yes, you can process multiple images in a single workflow to keep edits consistent. Batch-friendly tools help you standardize what gets removed (e.g., recurring bystanders) while preserving your visual style across carousels, blog posts, or editorials. Always review results as a set to catch inconsistencies.
Will AI removals work on mobile shots and high-resolution RAW exports?
Yes, but higher-resolution inputs generally produce cleaner reconstructions. Mobile HDR and modern sensors deliver strong detail; feed the best quality available, and you’ll get fewer texture artifacts and smoother pattern continuity in the final image.
How do I know if my edit crosses ethical lines?
If it changes the meaning, safety context, or cultural truth of the scene, don’t do it—or disclose it clearly. Removing random bystanders is usually fine; erasing signage that warns about closures or altering crowd size in news-like contexts can mislead audiences. When in doubt, prioritize transparency.
Closing thoughts and next steps
Travel audiences have matured: they reward clarity and honesty, not emptiness. The craft today is to remove the noise while keeping the soul—textures, light, and the lived-in cues that anchor a place in memory. With Pixflux.AI, you can do that quickly, consistently, and with enough control to avoid the “too perfect” look.
Ready to streamline your workflow and remove people from photo online without losing the real vibe? Try Pixflux.AI on a recent shot, compare versions side by side, and publish the one that tells your story best.