User Generated Content and Micro Influencers The Rise of Authentic Branding
Curate authentic UGC without a messy feed—see when to add background, color-match fast, and use Pixflux.AI's 3-step flow to scale batch edits.
 Michael WalshJanuary 10, 2026
User Generated Content and Micro Influencers: The Rise of Authentic Branding
Authenticity is winning the scroll war. In 2026, brands that lean into UGC and micro-influencer content are outperforming polished studio shoots on engagement and trust—especially across Instagram, TikTok, and TikTok Shop. But there’s a catch: real creators shoot in real environments, and your feed can quickly look messy when every post brings a different background, light, and color temperature.
Social and eCommerce teams are trying to square the circle: keep the human feel while aligning visuals with brand palettes and layouts. This is where lightweight AI editing—especially the ability to add background elements that match brand guidelines—has become a practical bridge. Instead of heavy retouching, AI tools like Pixflux.AI let teams quickly add background to photos so your grid feels cohesive without losing the creator’s voice.
Below, we’ll cover a pragmatic workflow: when to add a background versus remove or blur it, how to prep UGC ethically, a three-step Pixflux.AI how-to, batch strategies for micro-influencer content, and quality checks to prevent halos, artifacts, or color shifts.
Why UGC and micro-influencers are reshaping authentic branding in 2026
- UGC and micro influencer content feels native to social feeds. It conveys honest use cases and diverse contexts that audiences trust.
- Micro-influencers are cost-efficient and often outperform macro creators on engagement, letting you scale content volume without ballooning budgets.
- Teams prioritize cohesion at the feed level (consistent backdrops, tones, and framing) while leaving creators’ facial expressions, styling, and storytelling intact.
- AI-assisted background editing now handles the mechanical work—cleaning up frames, aligning color palettes, adding subtle brand textures—so you post faster with less manual design time.
Visual consistency 101: palettes, backdrops, framing
Treat UGC curation like productization. Define your “acceptable variation” and codify it in a one-page visual guide:
- Brand palettes in RGB/HEX, with preferred backdrop tones (e.g., warm neutrals, soft slate, or pastel gradients).
- Default framing and crop ratios (4:5 portrait for IG feed, 9:16 vertical for TikTok, 1:1 for some eCommerce thumbnails).
- Backdrop guidance: when a neutral solid works vs. when a textured surface (paper, concrete, linen) supports the brand vibe.
- Shadow language: soft falloff, direction from top-left or natural window light, and consistent intensity, so added backgrounds don’t feel “stuck on.”
This guide becomes the reference for deciding how to edit each incoming UGC asset.
When to add background versus remove or blur it
Use this quick decision guide to choose the right fix:
- Add background when the original scene clashes with your palette or looks cluttered but the subject is well-lit and sharp. A new, on-brand background instantly normalizes the frame.
- Remove background when you need a clean, minimal hero for marketplaces, landing pages, or ad variations.
- Blur background when the location context is valuable (e.g., kitchen for cookware) but the details distract from the product.
- Keep the original when it already fits your brand tone; minor color adjustments may be enough.
Pro tip: “Add background” edits can be subtle. Even a barely textured neutral panel with a gentle gradient can unify a grid without erasing the creator’s environment entirely.
File prep and rights: sourcing UGC safely and at usable resolution
- Consent and rights: Always secure written permission from creators and confirm usage rights (organic, paid, and commercial placements). Maintain a simple release template.
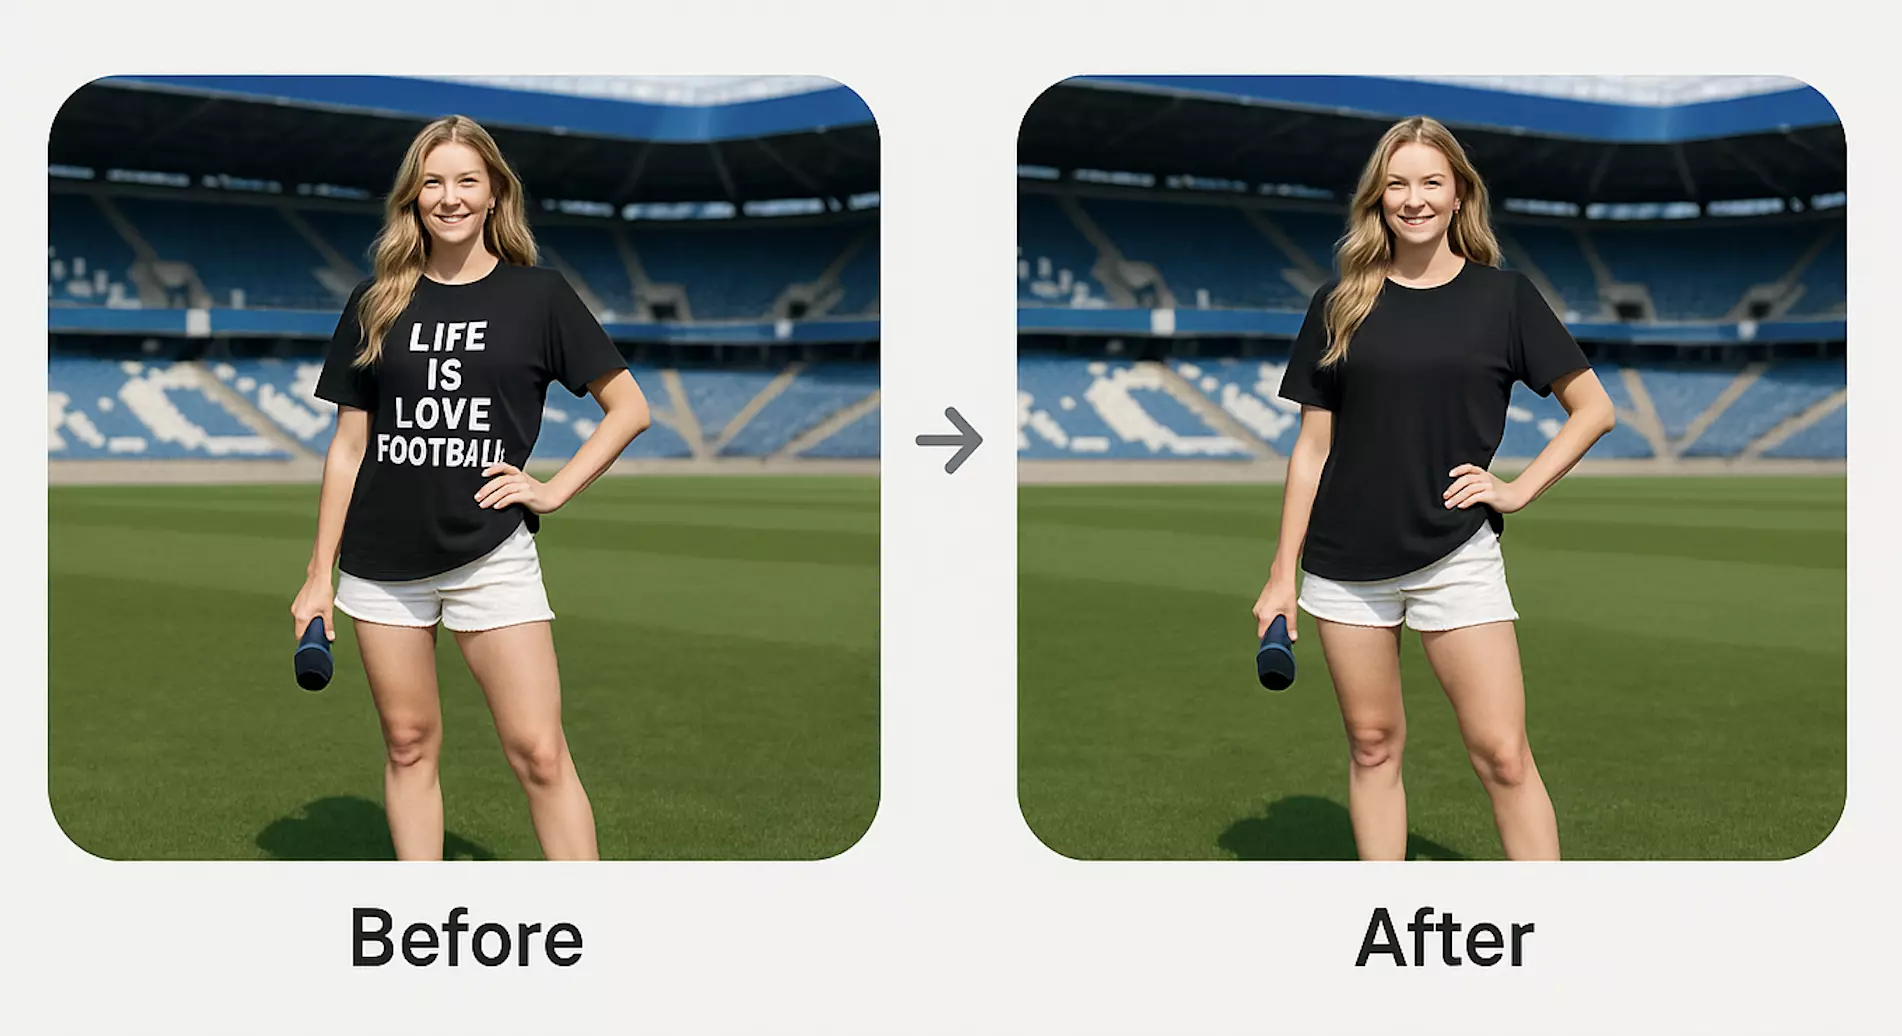
- Watermarks: If a creator’s post contains a watermark or logo, request the original file. Only use watermark removal on assets you own or are authorized to edit, and follow platform rules.
- Resolution: Aim for 2000–3000 px on the long edge for flexibility across IG, TikTok, and web. Avoid heavy upscaling before editing—apply enhancements after background work.
- Crops: Keep safe zones for captions and stickers on TikTok (top/bottom UI areas) and for IG (avoid cutting off key details at 4:5).
- Color space: Work in sRGB to match most social feeds and eCommerce sites, minimizing color surprises after upload.
Compliance note: Only edit images you own or are licensed to use. Do not remove watermarks or logos to bypass copyright or platform policies.
Add backgrounds to UGC in 3 steps with Pixflux.AI
When your team needs fast, consistent backdrop alignment, Pixflux.AI provides an intuitive flow—from simple background additions to more advanced background generation.
- Upload your original image.
- Let the AI process the photo to add a background that matches your selected style or palette.
- Download the edited result and export variations as needed.
For editors getting started, this is the easiest way to add background to a batch of UGC posts while keeping the subject sharp and natural.
(See image: A three-step Pixflux.AI interface sequence showing Upload → AI Process → Download for adding backgrounds.)
Optional 5-step pro flow with micro-adjustments
- Open Pixflux.AI.
- Upload the creator’s original image.
- Choose the background tool: add, modify, or generate. Start with a neutral brand tone or a light texture.
- Preview results and micro-tune: adjust color warmth, add realistic shadows, and refine subject edges.
- Download the final image, then create platform-specific crops.
Methodology: color matching, realistic shadows, texture alignment
To make “add background” edits feel invisible, focus on three realism anchors:
- Color matching: Use brand palette values as a target. If skin tones fall flat against a cool background, warm the backdrop slightly or lighten it by 5–10% for contrast.
- Shadows and grounding: Flat composites look fake. Add a soft contact shadow beneath products or shoes to “seat” them in the scene. Ensure shadow direction matches any visible lighting on the subject.
- Texture alignment: A subtle paper grain, linen weave, or concrete texture can add depth—but keep scale realistic. Overly sharp or oversized texture patterns break the illusion.
If you see faint halos around hair or edges, slightly feather the edge and add a tiny bit of noise to the background so the transition feels organic.
Batch workflows for micro-influencer photos without losing authenticity
You can maintain authenticity and still standardize what matters:
- Group UGC by lighting and subject type (e.g., indoor beauty selfies vs. outdoor lifestyle shots).
- For each group, set one or two background styles (neutral solid and soft-texture variant) that fit your palette.
- Use Pixflux.AI to process images in batches so every post lands within your visual envelope while preserving unique poses and expressions. Its background remover and generator help you swap busy scenes for brand-ready backdrops quickly.
- Avoid over-uniformity: alternate between the two backdrop styles, rotate 2–3 color tones, and keep creator props intact when they feel on-brand.
This keeps the feed cohesive at a glance but still human up close.
Case study: before/after background alignment and quality checks
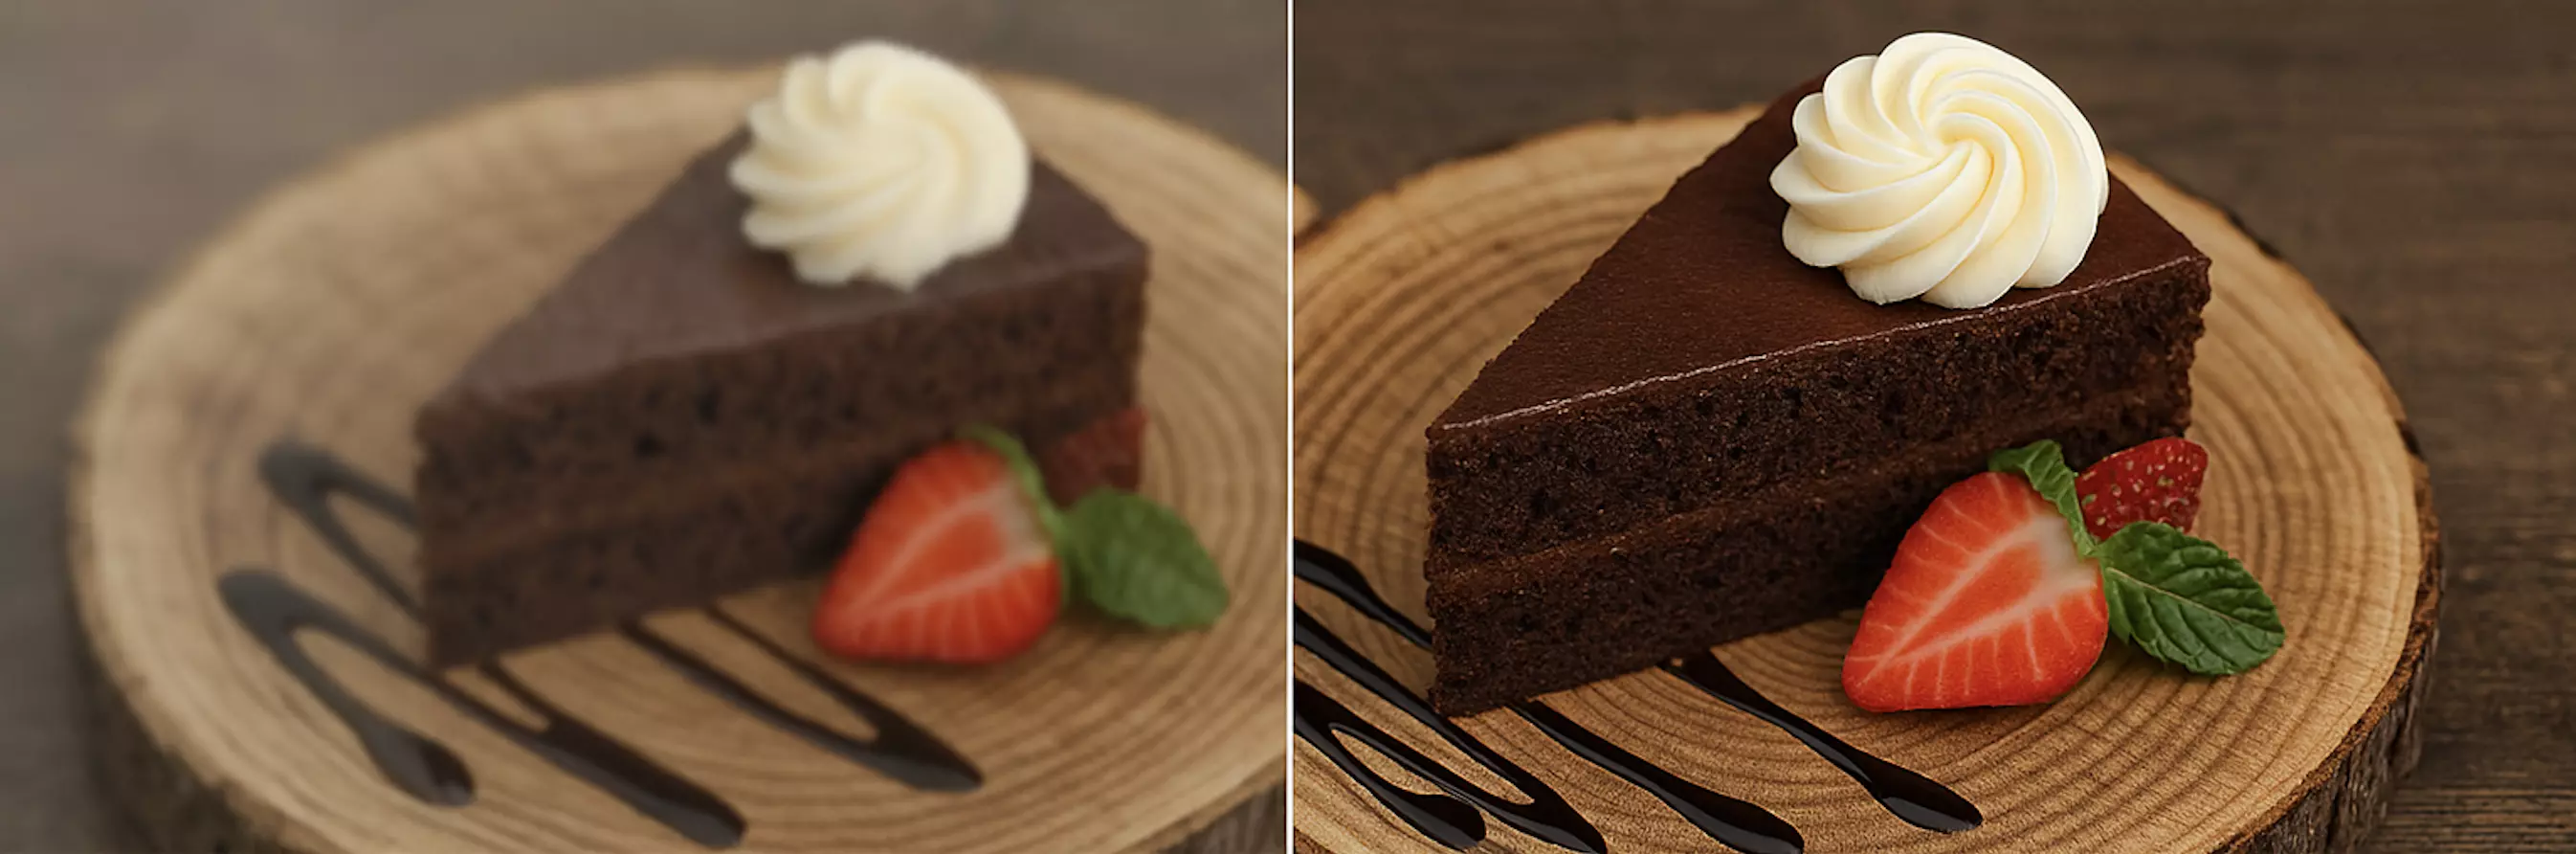
Imagine a skincare brand working with 15 micro-influencers. The “before” grid shows varied bathrooms, bedrooms, and cars—good stories, inconsistent color. After a one-hour edit sprint:
- Busy tiles and car interiors are swapped for soft beige and cool-gray tones aligned to the brand palette.
- Contact shadows are added under bottles for depth.
- Skin tones are gently warmed to keep the complexion natural against cooler backdrops.
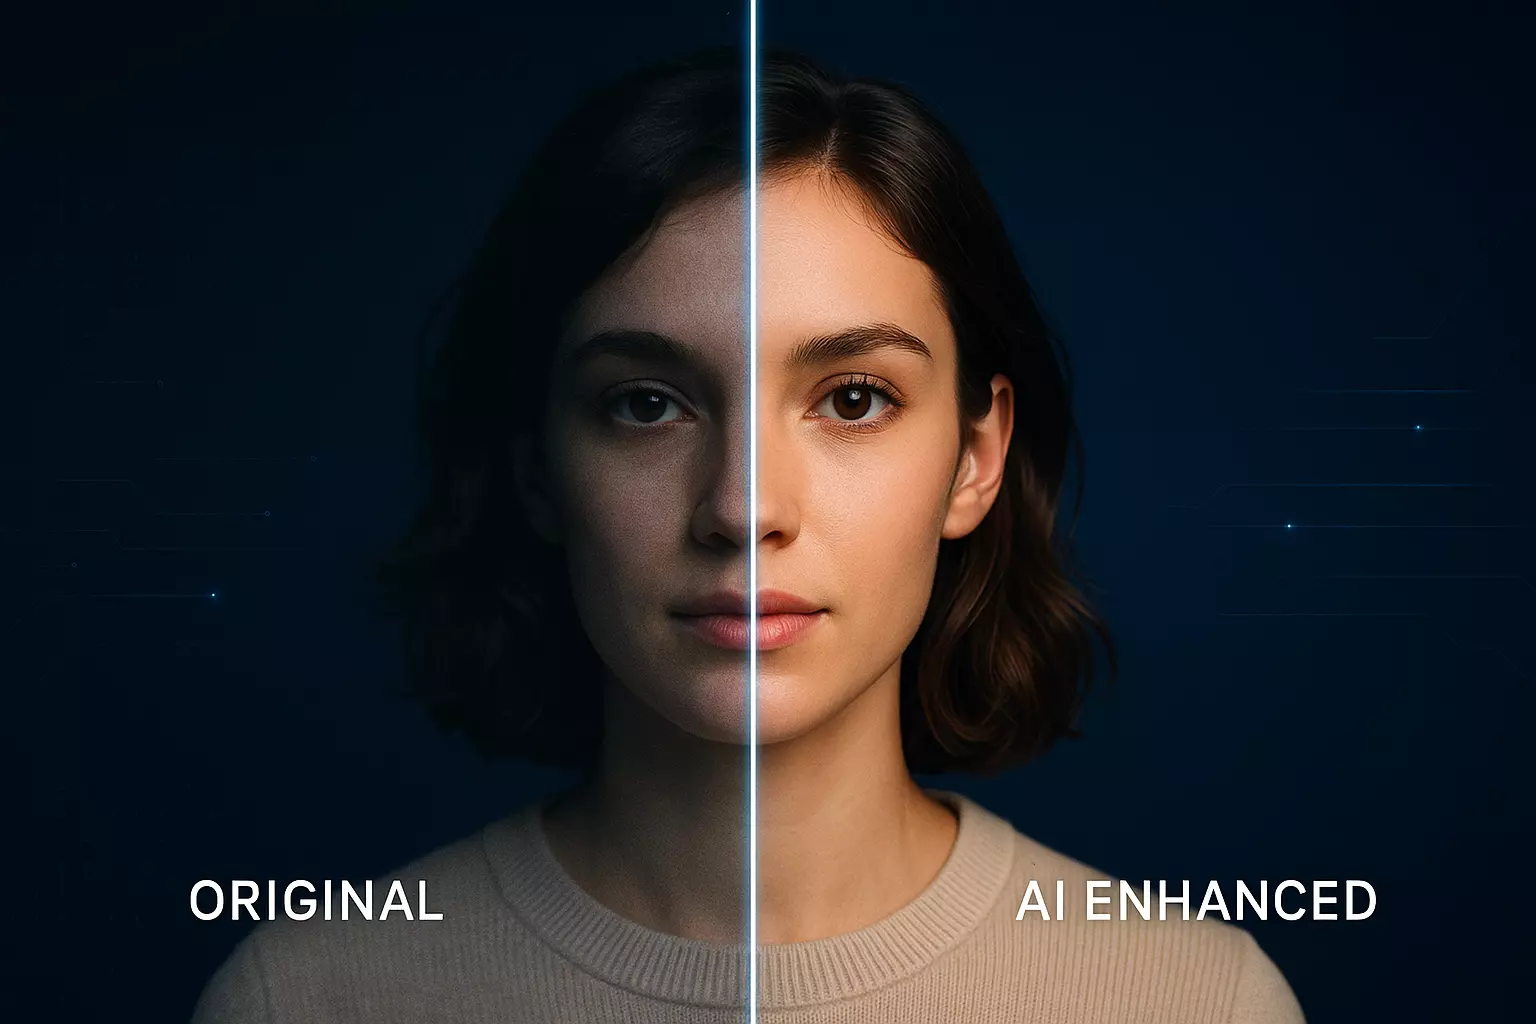
(See image: Before-and-after of the same micro-influencer photo where a neutral brand backdrop is added to match palette.)
The result: the feed reads as one brand narrative while each creator’s style remains intact.
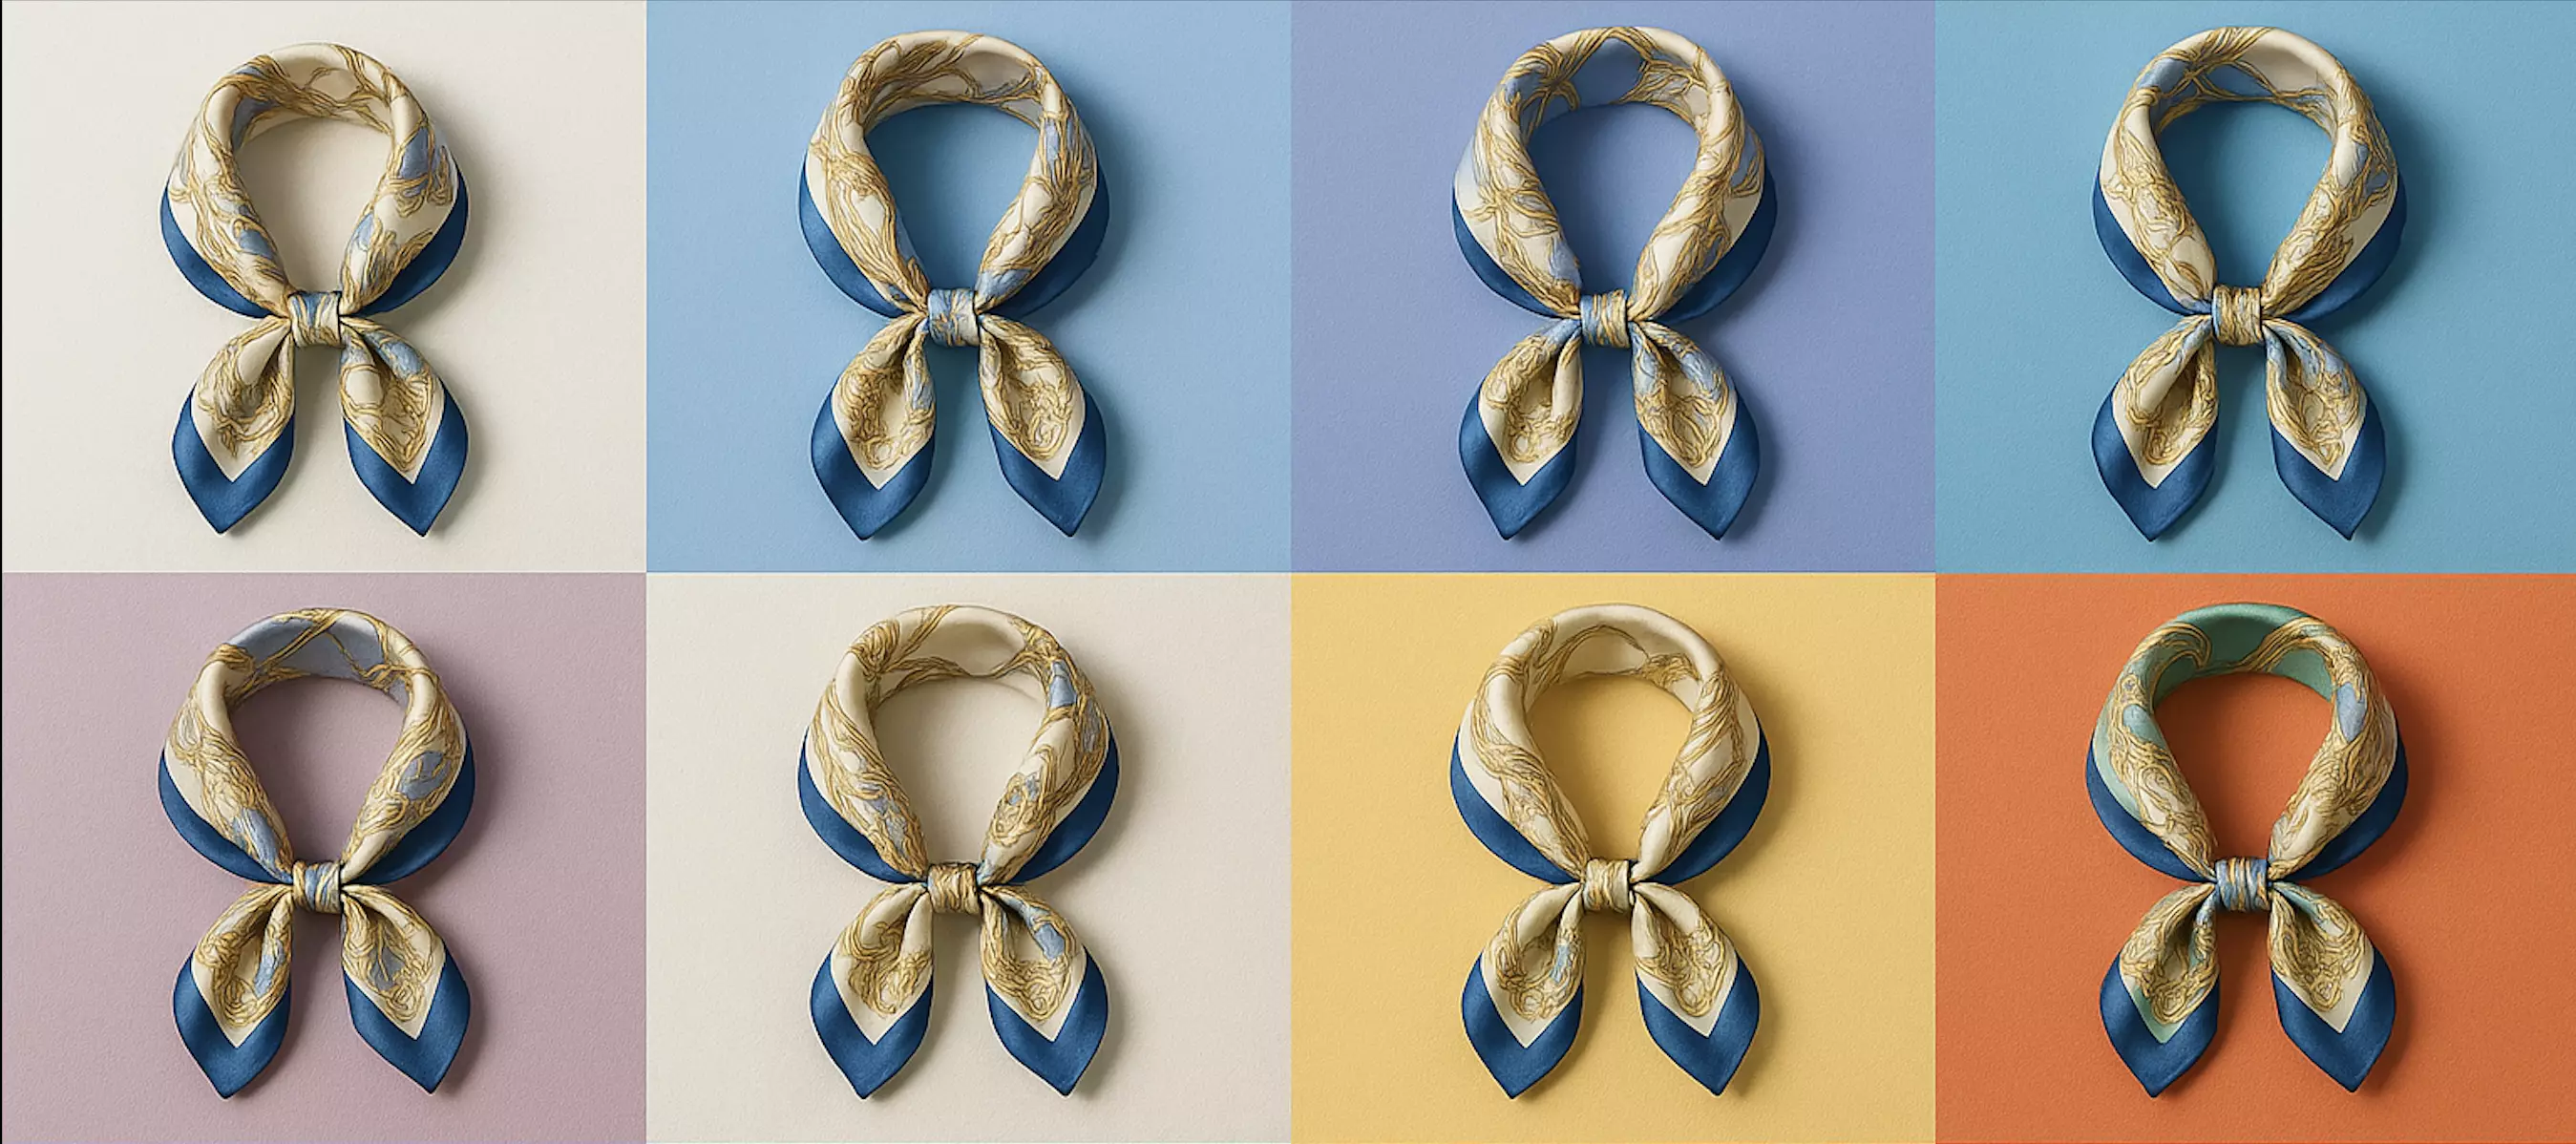
(See image: A grid of curated UGC posts demonstrating consistent background tones and soft shadows across images.)
Quality control and troubleshooting
- Edge halos: If hair looks cut out, soften the mask edge slightly and add micro-noise to the background for a seamless blend.
- Skin tone shifts: Watch for cool casts from blue-gray backdrops. Nudge background warmth or slightly lift exposure to maintain natural skin.
- Over-smooth textures: If the background looks too “digital,” apply a subtle grain or choose a lightly textured option.
- Color drift across batches: Lock your HEX values for key tones and stick to 2–3 approved variations.
- Artifact cleanup: Remove stray reflections or duplicate edges with a quick retouch pass so the final image feels clean.
AI tools vs. traditional methods
- Time cost: Online AI tools like Pixflux.AI can handle background work in seconds per image, versus minutes in desktop software or days via outsourcing.
- Learning curve: You don’t need deep retouching skills—teams can follow a simple 3-step flow and still achieve consistent results.
- Batch efficiency: With batch-friendly editing, you can turn around entire creator drops quickly, aligning a week’s grid in one sitting.
- Collaboration: Non-design teammates (community managers, social coordinators) can prepare assets for posts without waiting on a specialist.
Traditional methods still shine for complex composites or brand campaigns that demand pixel-level art direction. For day-to-day UGC and micro-influencer content, AI background tools deliver speed and “good enough” quality that looks on-brand.
FAQ: adding backgrounds, ethics, and time-savers
Does adding a background reduce authenticity?
No—done subtly, it keeps the creator’s story while aligning visuals to your brand.
Aim for neutral tones, soft shadows, and minimal texture so the subject stays center stage. Reserve more stylized backgrounds for campaign moments, and keep UGC edits lightweight.
When should I add background versus remove it entirely?
Add a background when you want a controlled, on-brand setting; remove it for clean hero shots or product thumbnails.
If context helps (e.g., a kitchen scene for cookware), consider a gentle blur. Use “add background” when the original space clashes with your palette or looks messy but the subject is strong.
Is watermark removal allowed on UGC?
Only remove watermarks when you own the asset or have explicit permission from the creator.
Request the original file whenever possible. Never use watermark removal to bypass copyright or platform policies, and document permissions for paid usage.
What resolution works best for social and eCommerce?
Aim for 2000–3000 px on the long edge in sRGB for flexible cropping across IG, TikTok, and web.
For Amazon and similar marketplaces, ensure at least 1000 px on the longest side to enable zoom features. Export final crops per platform without excessive compression.
How fast can I add backgrounds to a batch of influencer photos?
With an AI workflow, you can process a set in minutes instead of hours.
Group similar images, choose one or two backdrop styles, and run them through a batch process. A short final pass for edge checks and color consistency is usually enough.
Will added backgrounds look fake?
They won’t if you match color temperature, add realistic shadows, and keep texture scale natural.
Avoid overly saturated tones and sharp textures that overpower the subject. A touch of grain on the background can help the composite sit comfortably.
Is my content private when I upload for editing?
Reputable tools are designed for secure processing, and you should always review their privacy documentation.
Avoid uploading assets you are not authorized to edit, and remove any sensitive information from frames before processing.
Conclusion and next steps
UGC and micro-influencer marketing deliver authenticity; consistent backgrounds deliver brand cohesion. Together, they create feeds that feel human and unmistakably yours. Instead of heavy retouching, use a lightweight AI flow to standardize the parts that matter—palette, backdrop, framing—while keeping creators’ voices intact.
If you’re ready to unify your next content drop, open Pixflux.AI and add a background to your top-performing creator posts. The three-step flow—upload, process, download—helps social teams get on-brand assets live today, not next week.